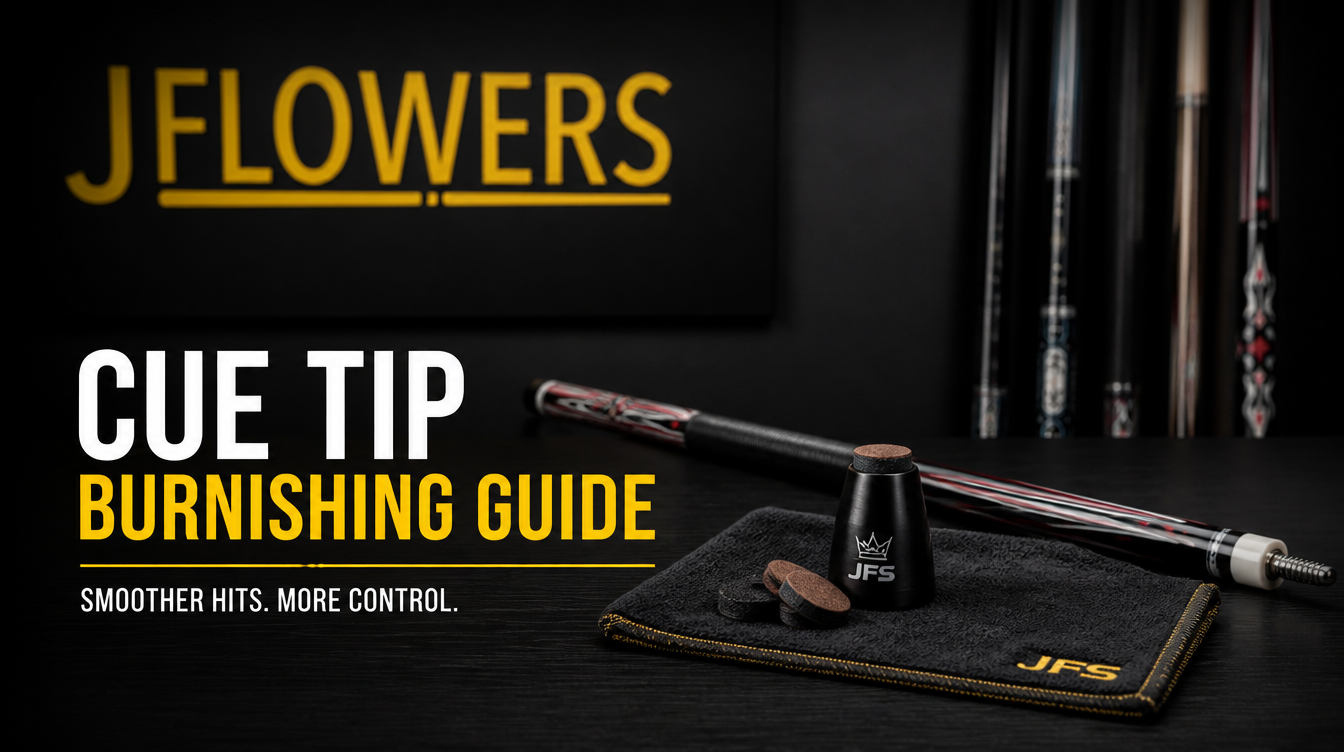
Burnishing is the most misunderstood part of cue tip maintenance. Most players know they should shape and scuff their tips. Fewer know what burnishing is, what it does, or why it matters. And the players who skip burnishing pay for it in accelerated mushrooming and shorter tip life.
Listen to this article
This guide explains exactly what burnishing is, what it accomplishes, how to do it correctly, and where it fits in your overall tip maintenance routine.
What Burnishing Is
Burnishing is the process of compressing and smoothing the sides of a pool cue tip — the leather surface between the contact face and the shaft or ferrule. It’s done with a hard, smooth surface (the burnisher side of a tip tool) pressed firmly against the tip’s sides and rolled around the circumference.
The goal is to compress the side leather without removing it. Think of it like ironing — you’re applying pressure and motion to compact the material rather than abrade it. The result is a denser, harder tip side that resists the lateral spreading that causes mushrooming.
What Burnishing Does for Your Tip
Slows mushrooming — compressed side leather resists the outward flow that causes tips to overhang the shaft edge
Creates a clean, defined tip profile — the boundary between the tip’s contact face and sides stays sharp
Extends tip lifespan — by reducing the mushrooming that eventually makes tips unusable
Improves the tip’s overall appearance — a burnished tip looks clean and professiona
The mushrooming prevention aspect is the most practically valuable. For the full context of why mushrooming is a problem, see Why Cue Tips Mushroom.
What Burnishing Does NOT Do
Clarifying common misconceptions:
Burnishing does not harden the tip’s contact face — it only affects the sides
Burnishing is not the same as scuffing — scuffing creates surface texture for chalk retention; burnishing compresses the sides to prevent mushrooming
Burnishing does not replace shaping — the contact face still needs to be maintained at nickel radius
These are distinct maintenance tasks that serve different purposes. Confusing them leads to doing one while neglecting the other.
The Burnishing Technique
Step 1: Ensure the tip is properly shaped and scuffed before burnishing. Burnishing a flat or unscuffed tip doesn’t help and can make the tip harder to correct afterward. Step 2: Hold the cue at a comfortable angle — many players hold it horizontally or at about 45 degrees. Step 3: Press the burnishing tool firmly against the side of the tip. The burnisher should contact the full height of the tip’s side — from the contact face edge to the shaft or ferrule edge. Step 4: Apply firm pressure and roll the burnisher along the circumference of the tip, maintaining consistent contact. Three to four full passes around the circumference. Step 5: Check the tip side — it should look smoother and feel slightly denser than before.
Burnishing Frequency
Once every 1-2 weeks of regular competitive play is sufficient for most players. Players on soft tips who play frequently may benefit from burnishing every week. Hard tip users can go longer between burnishing sessions.
Always burnish after a tip replacement — a fresh tip’s sides are uncompressed and most susceptible to early mushrooming. One thorough burnishing session during tip break-in significantly slows initial mushrooming. For the full break-in process, see How to Break In a New Cue Tip.
Tools for Burnishing
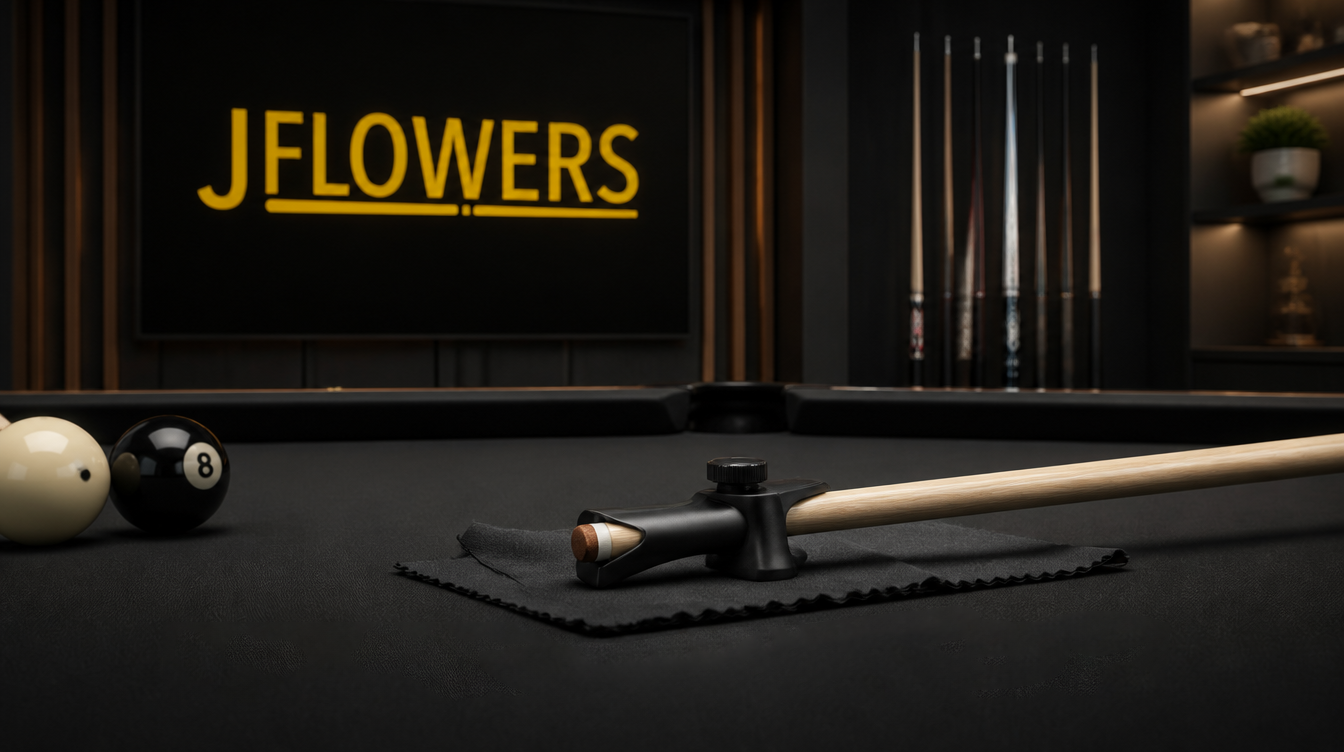
A combination tip tool that includes a burnishing surface is the practical choice — one tool that handles shaping, scuffing, and burnishing. The burnisher component is typically a hard plastic or metal edge designed for firm, smooth contact with the tip side.
Some players use a simple piece of smooth, hard material — the back of a spoon, a burnishing rod, even a smooth wooden dowel. The key is a hard, smooth surface that compresses rather than abrades. Avoid anything with texture that would scuff rather than burnish.
Burnishing on Carbon Fiber Shafts
Burnishing is identical on carbon fiber shafts. The burnishing tool contacts the tip leather, not the shaft material. On ferrule-less designs like the JFlowers SMO, be slightly more careful near the shaft end of the tip to avoid touching the carbon fiber surface with the burnishing tool — not because it would damage the shaft, but because you want the tool working on the leather.
Pros and Cons
Regular tip burnishing
Significantly slows mushrooming — compresses side leather that would otherwise spread
Extends tip lifespan by keeping the tip within proper profile
Creates clean tip appearance
Requires an additional tool step that many players skip
Takes 60-90 seconds — easy to omit from a rushed maintenance routine
Expert Recommendation Burnish your tip once a week if you play regularly. Burnish after every new tip installation during the break-in period. Include it in your pre-session routine check, or as a post-session habit after wiping down the shaft. The Taom medium tip on the JFlowers SMO, properly burnished, maintains its profile for months of competitive play.
Conclusion
Burnishing is the tip maintenance step that most players skip and most tips suffer for. It’s fast, it’s simple, and it makes a measurable difference in how long your tip stays in correct profile. Add it to your weekly routine. Shape the face, scuff the surface, burnish the sides. Sixty seconds that protects a $25 tip for months longer than it would last without it.
Frequently Asked Questions
Q: What does cue tip burnishing do? Burnishing compresses the leather on the tip’s sides, slowing the mushrooming process and extending tip lifespan. Q: How often should I burnish my cue tip? Once every 1-2 weeks of regular play. Always burnish after a new tip installation. Q: What is the difference between scuffing and burnishing a tip? Scuffing creates surface texture on the contact face for chalk retention. Burnishing compresses the tip sides to prevent mushrooming. Different tools, different surfaces, different purposes. Q: What tool do I use to burnish a cue tip? The burnishing side of a combination tip tool — a hard, smooth surface designed for firm contact with the tip side. Some players use any hard smooth object. Q: Does burnishing make a tip harder? Not the contact hardness — burnishing only affects the tip sides, not the contact face. The playing hardness of the tip doesn’t change from burnishing. Q: Should I burnish a brand new tip? Yes — burnishing after installation and during break-in significantly slows early mushrooming on a fresh tip. Q: Can over-burnishing damage a tip? Excessive or aggressive burnishing can cause the tip side leather to crack if the leather is dry or old. Moderate, regular burnishing on healthy tips is safe.
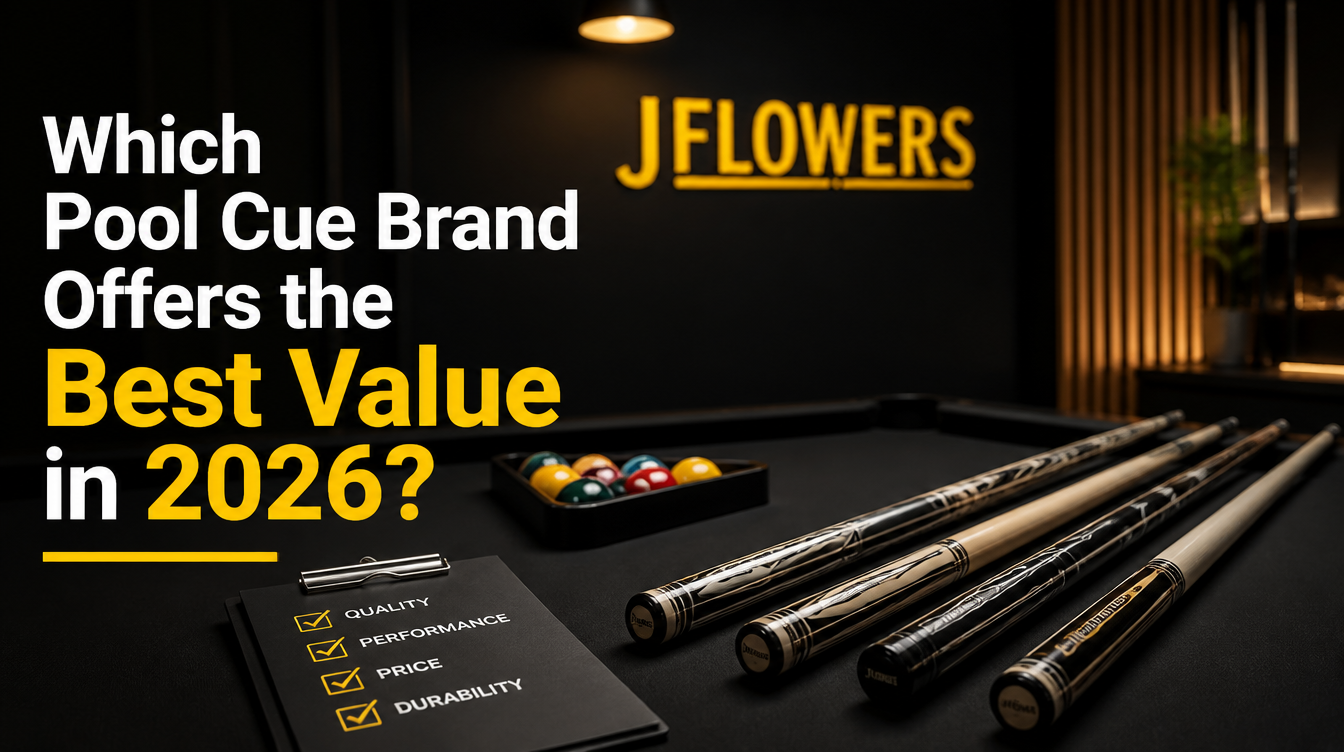
After comparing JFlowers to Predator, Mezz, McDermott, Meucci, Jacoby, Pechauer, and a dozen more brands across every price point and construction philosophy — the question that started all of it deserves a direct answer: which pool cue brand actually offers the best value for serious competitive players in
2026?
Players Technology is one of the most widely used cue brands in American pool halls. Their two-piece cues at $40-$150 have introduced millions of American players to personal cue ownership. Nearly every serious pool player in America either started on a Players cue or played against someone who did. Comparing Players to JFlowers isn’t really a direct competition — it’s a marker on the journey from beginner to serious competitor.