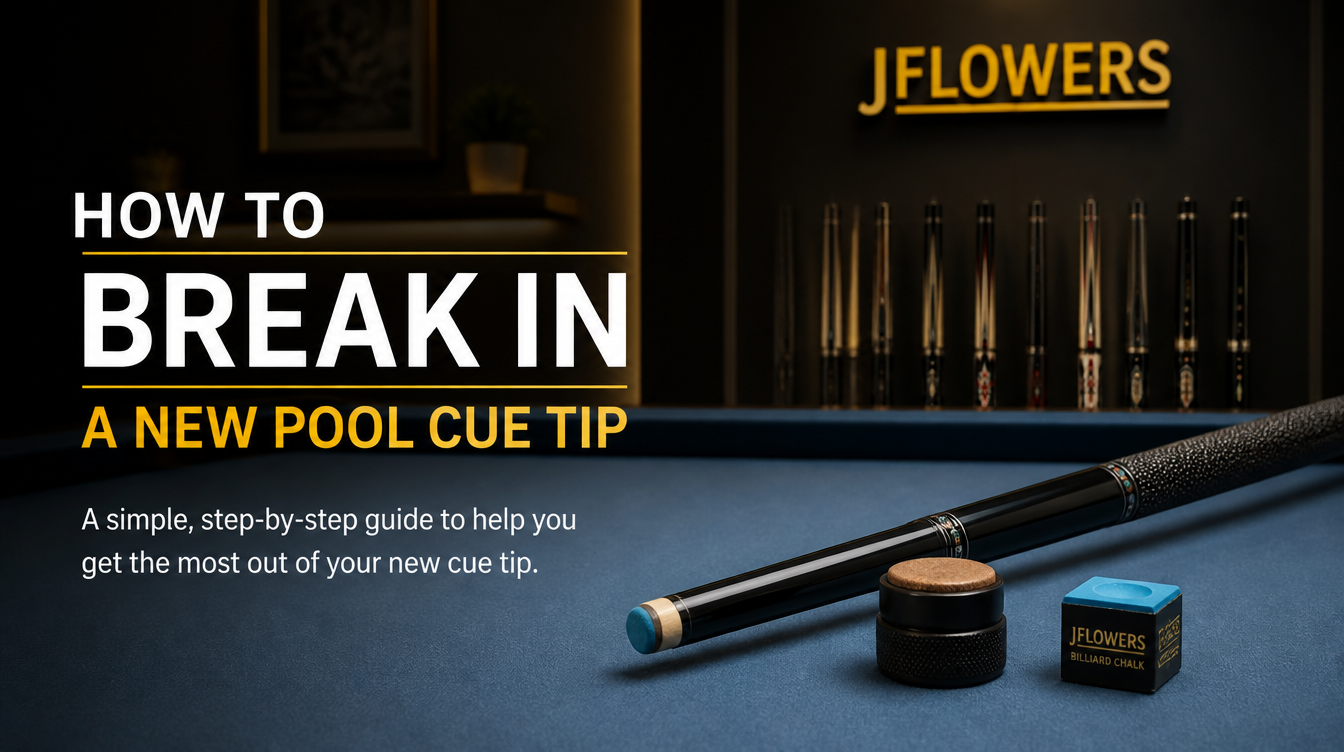
A freshly installed tip doesn't perform at its best immediately. The leather needs to compress slightly and conform to the curvature of the shaft. The surface needs to be properly shaped, scuffed, and conditioned. The tip needs to develop a chalk-holding texture through initial play.
Listen to this article
Players who install a new tip and expect immediate peak performance are often disappointed — and sometimes wrongly conclude the tip is bad or the hardness is wrong when the tip just hasn’t been properly broken in. This guide walks through the correct break-in process that gets any quality tip performing at its best as quickly as possible.
Step 1: Initial Shaping
When a new tip is installed, it’s typically cylindrical or slightly rough at the contact face. Before playing a single shot, shape the tip to your preferred radius — nickel or dime. Use a tip shaper with the appropriate radius profile, light strokes until the dome is established.
A quality tip installer will typically shape the tip as part of the installation. If they haven’t, do it yourself before play. Playing on an unshaped tip teaches the tip to flatten in the wrong geometry. For the shaping process, see Tip Shape Guide.
Step 2: Scuffing the Surface
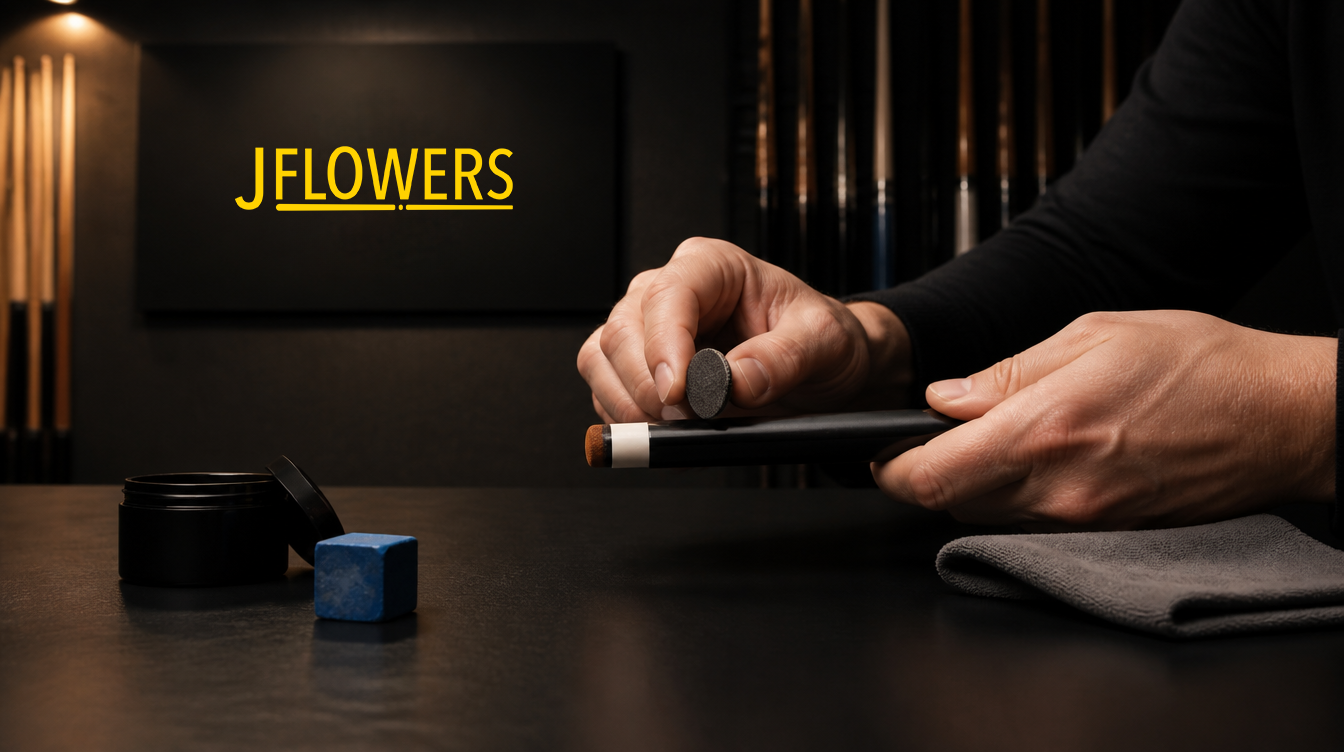
New tips have a smooth surface from manufacturing and installation. Smooth surfaces don’t hold chalk well. Before chalking for the first time, use the scuffer side of your tip tool to create a slightly rough texture across the tip face. Light, even strokes across the entire contact surface.
This scuffing creates the micro-texture that chalk bonds to. Without it, chalk slides off or builds up unevenly, and the first few sessions of play feel frustratingly inconsistent. After scuffing, the tip is ready for its first chalk application.
Step 3: First Chalk Application
Apply chalk generously and deliberately to the freshly scuffed tip. Circular motions covering the full tip face. Taom chalk applied to a properly scuffed tip provides excellent first-session bond — one of the reasons Taom chalk is the recommendation for any quality tip installation.
Don’t grind the chalk aggressively into the tip on the first application — gentle, full coverage is the goal.
Step 4: The First Session
The first session with a new tip is the break-in session. Here’s what to expect and do:
Chalk before every shot during the first session — the tip hasn’t developed its chalk-holding surface yet
Start with center-ball shots and straight position play — don’t immediately load heavy english on an unbroken tip
After 15-20 minutes of play, stop and reshape/scuff lightly — the initial play compresses the tip slightly
Continue with progressive english shots — start with moderate english and build to full english over the session
The tip will feel slightly different during the first session than it will once broken in. This is normal. The leather is still conforming to the shaft and the initial compression is happening.
Step 5: Post-First-Session Reshaping
After the first session, the tip will have compressed slightly. The dome will be slightly flatter than when you started. Reshape to your target radius before the next session. This second reshaping is the last time you’ll need to do significant reshaping on a fresh tip — subsequent sessions will require only maintenance shaping.
How Long Full Break-In Takes
Most quality layered tips are performing at their best within 3-5 sessions of regular play. Some players describe a ‘sweet spot’ in a tip’s performance arc: the initial over-soft period, then a window of peak performance, then gradual degradation. Breaking in properly gets the tip into that sweet spot faster.
Hard tips take longer to fully break in than soft tips — the leather is more resistant to initial compression. For hard tip users, the first 5-8 sessions are the break-in period.
Breaking In on a Carbon Fiber Shaft
New tips on carbon fiber shafts — particularly ferrule-less designs like the JFlowers SMO — require one additional step: confirming the tip adhesive has fully cured before heavy play. Most tip adhesives achieve full cure within 24-48 hours of installation. Playing aggressively on a tip that was installed less than 24 hours ago risks the tip coming loose.
Have your tip installed at a minimum 24 hours before your first playing session. Then follow the same break-in process — shape, scuff, chalk, light play building to full english over the first session.
What Not to Do When Breaking In a New Tip
Don’t play a tournament on a tip installed the day before — the break-in period is real and your english will be inconsistent
Don’t skip shaping — a new tip installed without shaping develops compression patterns that flatten quickly
Don’t skip scuffing — a smooth new tip surface is a chalk-resistance problem waiting to happen
Don’t use a hard chalk (like cheap house chalk) for break-in — it won’t bond to the new surface properly
Pros and Cons
Proper tip break-in
Tip reaches peak performance faster
Better chalk retention from the first session
Consistent contact geometry established correctly from day one
Tip lifespan extended by avoiding the misshaping that comes from skipping initial shaping
Requires 30-60 minutes of light play before loading full english
May feel slightly different from your previous tip for the first 2-3 sessions
Expert Recommendation Install new tips at least 24 hours before your first session. Shape, scuff, chalk carefully, and spend the first session building from center-ball to progressive english. The 3-5 session break-in is an investment that pays off for months of reliable tip performance afterward.
Conclusion
New tip installation is an investment that should be managed properly. Shape it, scuff it, chalk it carefully, break it in progressively. Three to five sessions and the tip is performing as advertised. Skip the break-in steps and you’ll spend weeks wondering why your ‘good tip’ feels inconsistent. Get it right from the start and enjoy months of reliable contact geometry.
Frequently Asked Questions
Q: How long does a new pool cue tip take to break in? 3-5 sessions for most quality layered tips to reach peak performance. Hard tips may take 5-8 sessions. Q: Do you need to break in a new pool cue tip? Yes. Shaping, scuffing, and progressive initial play are all part of the break-in process that gets a new tip performing at its best. Q: Can I play a tournament on a brand new tip? Not recommended. Install the new tip at least a week before a major event and complete the break-in process during practice sessions before competing. Q: Why does my new tip feel different from my old one? The new tip is stiffer than a broken-in tip and hasn’t developed its chalk-holding texture yet. It will normalize after 3-5 sessions. Q: Should I shape a new tip before first use? Yes — always. Shape to nickel radius and scuff the surface before the first chalk application and shot. Q: How do I scuff a new cue tip? Use the scuffer side of a tip shaper/scuffer tool. Light strokes across the entire tip face to create micro-texture. Not aggressive — you’re creating texture, not removing material. Q: Does Taom chalk help break in a new tip? Yes. Taom chalk bonds effectively to a freshly scuffed tip surface and provides good chalk retention from the first session onward.
After comparing JFlowers to Predator, Mezz, McDermott, Meucci, Jacoby, Pechauer, and a dozen more brands across every price point and construction philosophy — the question that started all of it deserves a direct answer: which pool cue brand actually offers the best value for serious competitive players in
2026?
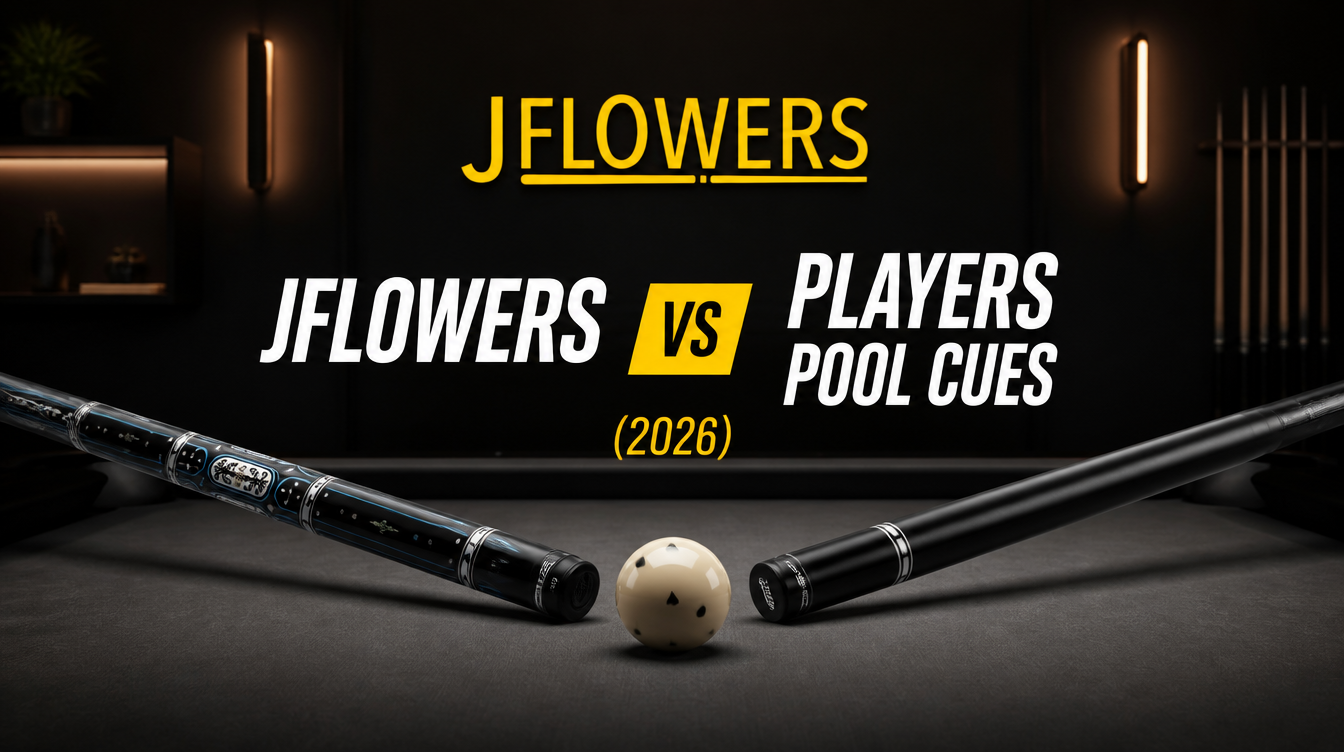
Players Technology is one of the most widely used cue brands in American pool halls. Their two-piece cues at $40-$150 have introduced millions of American players to personal cue ownership. Nearly every serious pool player in America either started on a Players cue or played against someone who did. Comparing Players to JFlowers isn’t really a direct competition — it’s a marker on the journey from beginner to serious competitor.